




3D visualization of houses: how to prepare a model, choose an angle, and adjust the lighting
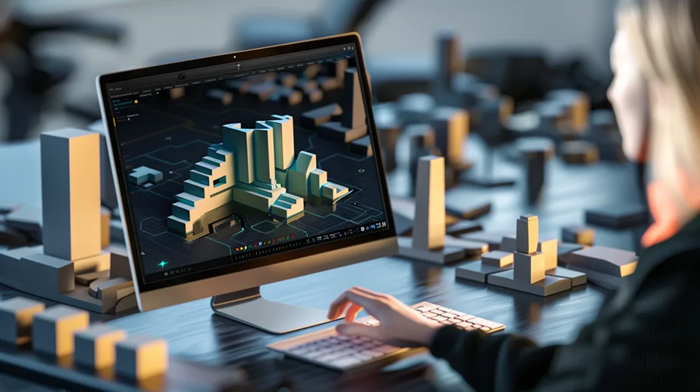
3D visualization of houses helps visualize the future project before construction begins: assessing proportions, materials, site layout, lighting, and ambiance. For private clients, this is a way to make faster decisions, and for architects and developers, it’s a presentation and approval tool.
A high-quality visualization exterior and interior rendering case study consists of an accurate initial model, a well-designed camera, lighting, and materials, as well as the ability to convey the living scenario in the house. Below are practical rules that enhance the realism and credibility of renderings without wasting time.
Technical Specifications: What Data to Request from the Client Before Starting
The technical specifications for 3D visualization of a house should not specify «what’s beautiful/not beautiful,» but rather specific input data: geometry, materials, environment, angles, quality, and approval requirements. The more precise the source documents and acceptance criteria, the fewer reworks and the more predictable the deadlines.
Before starting work, request a full information package from the client and agree on the file format, level of detail, and final deliverables. Below is a list of data that covers most scenarios (exterior, interior, marketing renderings, animation).
What to request from the client
- Visualization purpose and audience: sales/approval/competition/construction inspection; Where it will be used (website, banner, social media, print, presentation).
- Architectural sources:
- Plans, elevations, sections with dimensions (PDF/DWG).
- 3D model (if available): format, units of measurement, coordinate system, level of detail.
- Elevation marks, opening dimensions, roof (corners, overhangs, roof pie), structural assemblies if necessary.
- Project composition and boundaries: what is/is not included (house, terraces, fence, canopy, garage, retaining walls, paths, small architectural forms, swimming pool).
- Materials and finishes:
- Bill of materials (facade/roof/basement/window frames/doors/gutters).
- References (photos/catalogs/links), desired textures, colors, gloss/roughness levels.
- If available – RAL/NCS codes, article numbers, manufacturers, tile/board/panel sizes.
- Surroundings and site:
- Master plan/site layout, boundaries, setbacks, orientation.
- Topography (topographic survey/markers), existing trees/buildings, pavements and landscaping.
- Context: neighboring houses, road, fences, viewpoints (what is important to show/hide).
- Cameras and frames:
- List of camera angles (number), types (general, entrance area, terrace, night view, etc.).
- Examples of desired composition/focal length (references).
- Required shots: day/night, summer/winter, before/after, with/without people.
- Light, atmosphere, seasonality: time of day, weather, lighting conditions, presence of outdoor lights, warmth/coolness of the frame.
- Result requirements:
- Resolution and format (PNG/JPG/TIFF), color space (sRGB/CMYK for printing by agreement).
- Number of final images and options (e.g., 2 color schemes for the facade).
- Is post-processing, cleanup, insertion of people/cars/logos, or signatures required?
- Degree of realism and detail: «Concept»/»photorealism,» which must be clearly visible (façade joints, fasteners, gutters, trim, landscaping details).
- Restrictions and prohibitions: address/inward facing windows/floor plans must not be shown; Restrictions on brands, environments, and colors.
- Approval process:
- Number of edit rounds and what is considered an edit (material/shape/angle).
- Who approves and when is feedback provided.
- Comment format: as a single list, by frame, with notes on the image.
- Deadlines and priorities: deadline, intermediate checkpoints (rough geometry, rough materials, test renders).
- Legal and media terms: right to publish in the portfolio, NDA, reference sources, responsibility for the accuracy of the data provided.
- Record in the specifications: number of frames, resolution, season/time of day, level of realism.
- Attach to The specifications include all source files and references in one package, specifying file versions and units of measurement.
- Determine revision rules: how many circles and which changes are considered additional.
- Agree on acceptance criteria: matching geometry with drawings, approved materials, and angles.
Result: a high-quality specification is a list of verified parameters and a complete set of source data. If you clarify the geometry, materials, environment, frames, and revision rules before starting, the 3D visualization of the house will be completed faster, more accurately, and with a predictable result.
Hello!! My name is Jeanine
I love to eat, travel, and eat some more! I am married to the man of my dreams and have a beautiful little girl whose smiles can brighten anyone’s day!